Took some time this afternoon to start a new art journal page. I had picked up TH Idea-ology grunge letters and block from Michael's yesterday only $3.99 (
so I bought 2 packets.) and wanted to put them on a journal page some how. But first you need a background, and I did take the time to take photos of each step (
kinda) so if your interested is how this one came about keep reading. If not then I want to thank you for stopping by and taking a look and hopefully leave a comment
OKAY, on to how I made this page:
NOTE: I always Gesso my journal pages way ahead, even though this journal has heavy duty pages it keeps inks and paints from soaking in too fast, also gives the paper a good tooth to hold acrylic paint.
My first step was to use Lumiers Light Body Acrylic Paint Metallic Bronze paint. I had to thin it down as it is a rather old bottle and a little on the thick side...(
like me LOL) While the paint was still wet and looking a little to washed I dipped my brush into Pearl Ex Pigments Aztec Gold and mixed it in, right on the page.

I really like the bolder color so I grabbed the #680 Duo Red-Blue and the #681 Duo Blue-Green pigments and repeated the first step, while the paint was still wet, adding a bit of water to make it mix. (
I really had dragonflies in mind for this page)
I used an Inkadinkado flower stamp on an old dictionary page, it curves around the word art, then tore the edges
The dictionary page was Deco Podged onto the corner and I used a Q-Tip dabbed in the pigment to color the flowers,while the DP was still wet. While waiting for that to dry I used my NEW (as just got them yesterday) Rouge Redhead Designs background stamps......loooove them!! I am going top get a lot of miles out of these babies!!
Next step I added a smaller piece of the dictionary page to give a little more balance then more stamped images: Inspire from Hero Arts, Art and the large script from Stampers Anonymous. I also mixed some of the blue with DP and some of the red with DP and smeared them with my fingers to intensify the color is places.

Now for a little texture I used the modeling paste and this plastic type ribbon for a stencil. I also found a piece of grunge board, inked it black and glued it in the upper right corner.
I had painted the letters I wanted to use and glued them down OOOPS! I hated that look of the blue and the red pigment painted letters. I had covered the A and the N with pieces of the dictionary page and aged them with TH Age Photo ink and a little black ink around the edges. But those other letters were just not right. I did take a black Sharpie and circled the word art on the dictionary paper.
So what did I do about those ugly letters?
I painted them black, but left some of the color around the edges giving it an even more grunge look. I did outline the A and the N with a white-out pen, and added one more stamp in a blaring bald spot and called it done. Oh ya, there is a little hand journaling on this page. AND you may have noticed not one dragonfly!!!
So there it is, step by step on how it was created. The hardest part is
NOT to over think the page. I get up and walk around a number of times when working on a journal page, then when I get back and look at it I can "
see" what I've done and then take the next step.
When do I know it is finished? Well, it looks balanced and I LIKE IT!
Hope this helps some of you that have left comments on my other pages. Love to hear what you think of this one.
Inky Hugs
Krisha


 I really like the bolder color so I grabbed the #680 Duo Red-Blue and the #681 Duo Blue-Green pigments and repeated the first step, while the paint was still wet, adding a bit of water to make it mix. (I really had dragonflies in mind for this page)
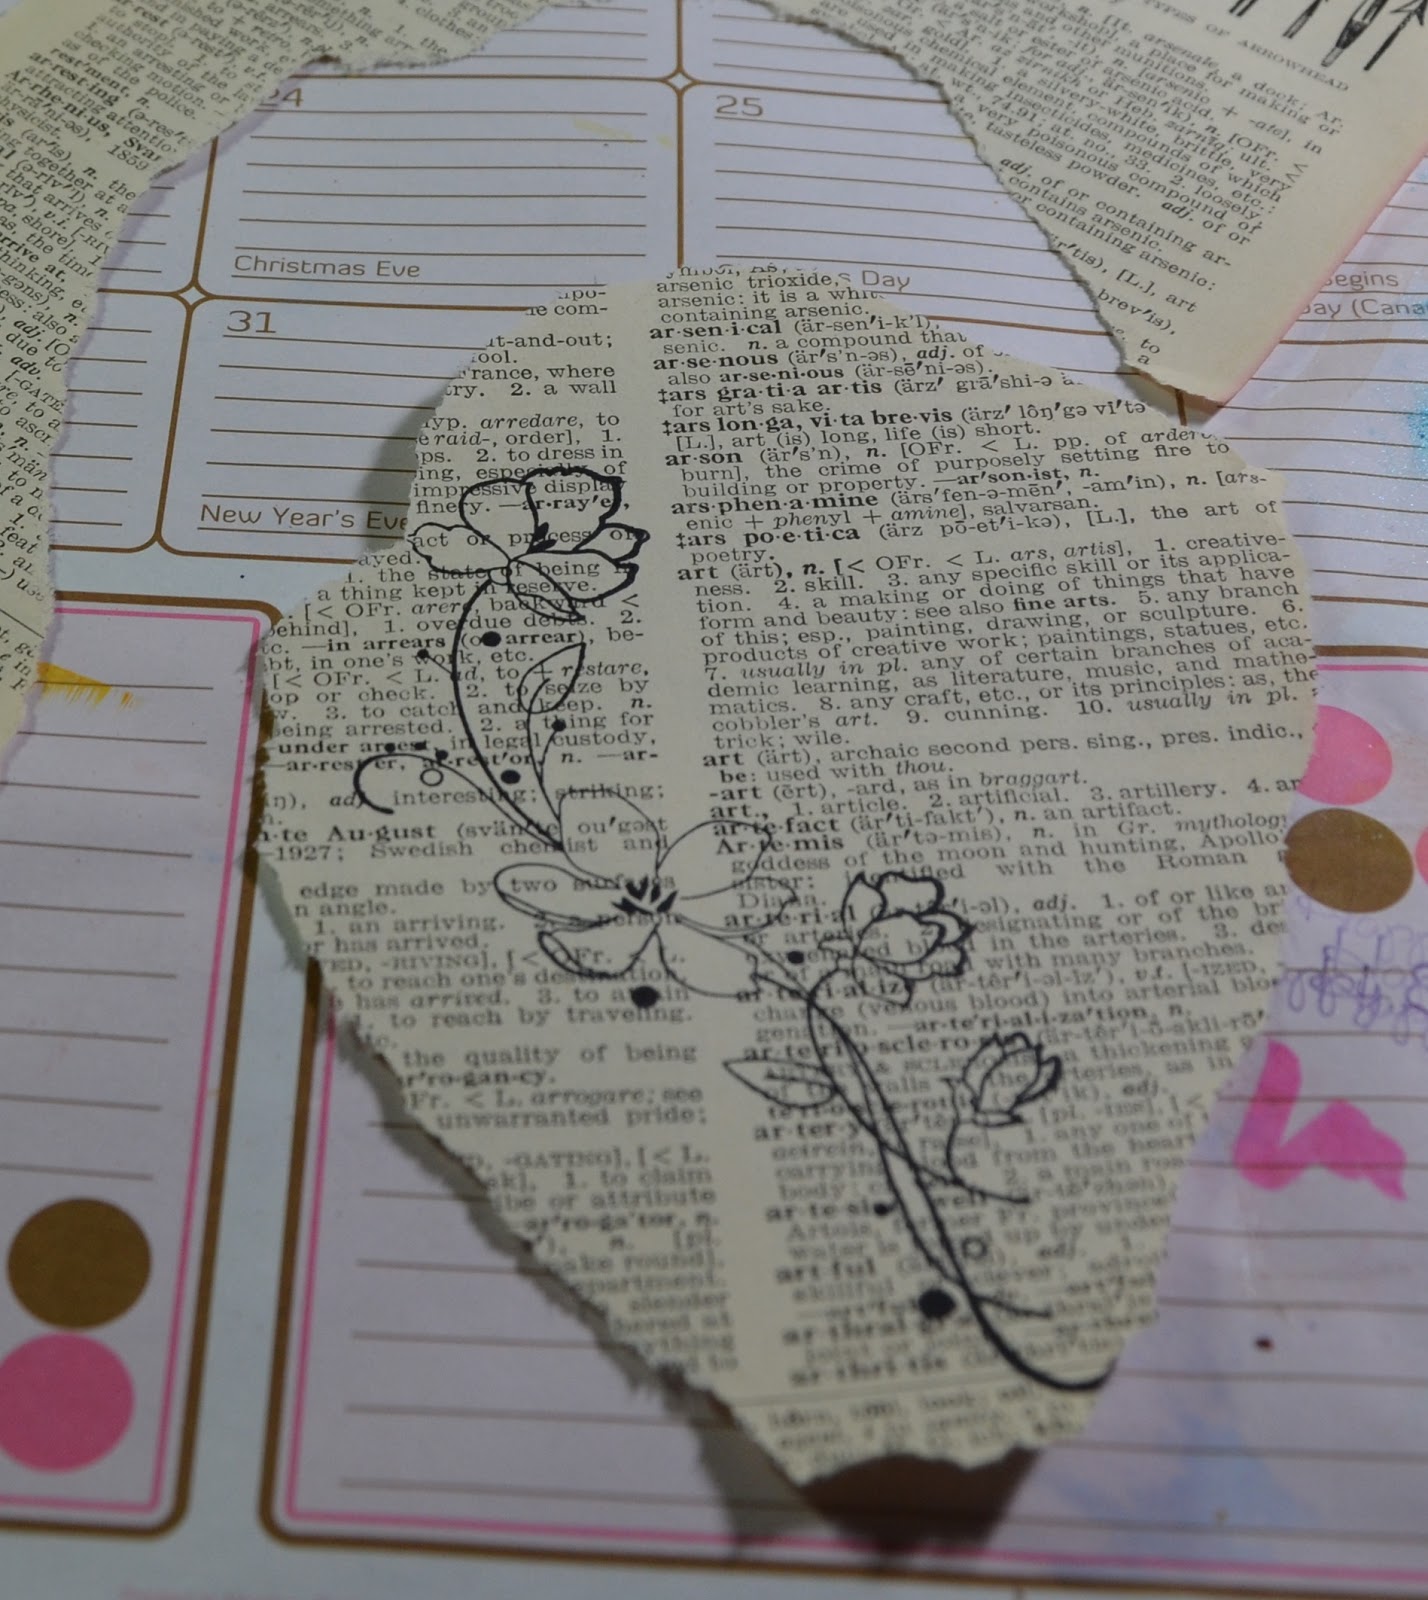


 Now for a little texture I used the modeling paste and this plastic type ribbon for a stencil. I also found a piece of grunge board, inked it black and glued it in the upper right corner.

Comments
I love the colours, they mix so well.
Alison x